A Homeowner's Guide to Navigating Roof Storm Damage Insurance Claims
After a severe storm rolls through the Panhandle, the first concern is always safety. But once the skies clear, the stress can shift to your home—specifically, your roof. Discovering damage is overwhelming, and the thought of navigating a complex insurance claim can feel just as daunting. For many Pensacola homeowners, the process is unfamiliar and filled with questions. Where do you even begin?
Filing an insurance claim for storm damage doesn't have to be a frustrating experience. With the right steps and a trusted partner, you can manage the process smoothly and ensure your home is restored correctly. This guide will walk you through the essential steps, from initial damage assessment to working with your insurance company and choosing the right roofing contractor to advocate for you.
Step 1: Prioritize Safety and Document Everything
Before you do anything else, ensure the area around your home is safe. Look for downed power lines, unstable tree limbs, and other immediate hazards. Once it's safe to do so, your next priority is to document the damage thoroughly. This evidence is the foundation of your insurance claim.
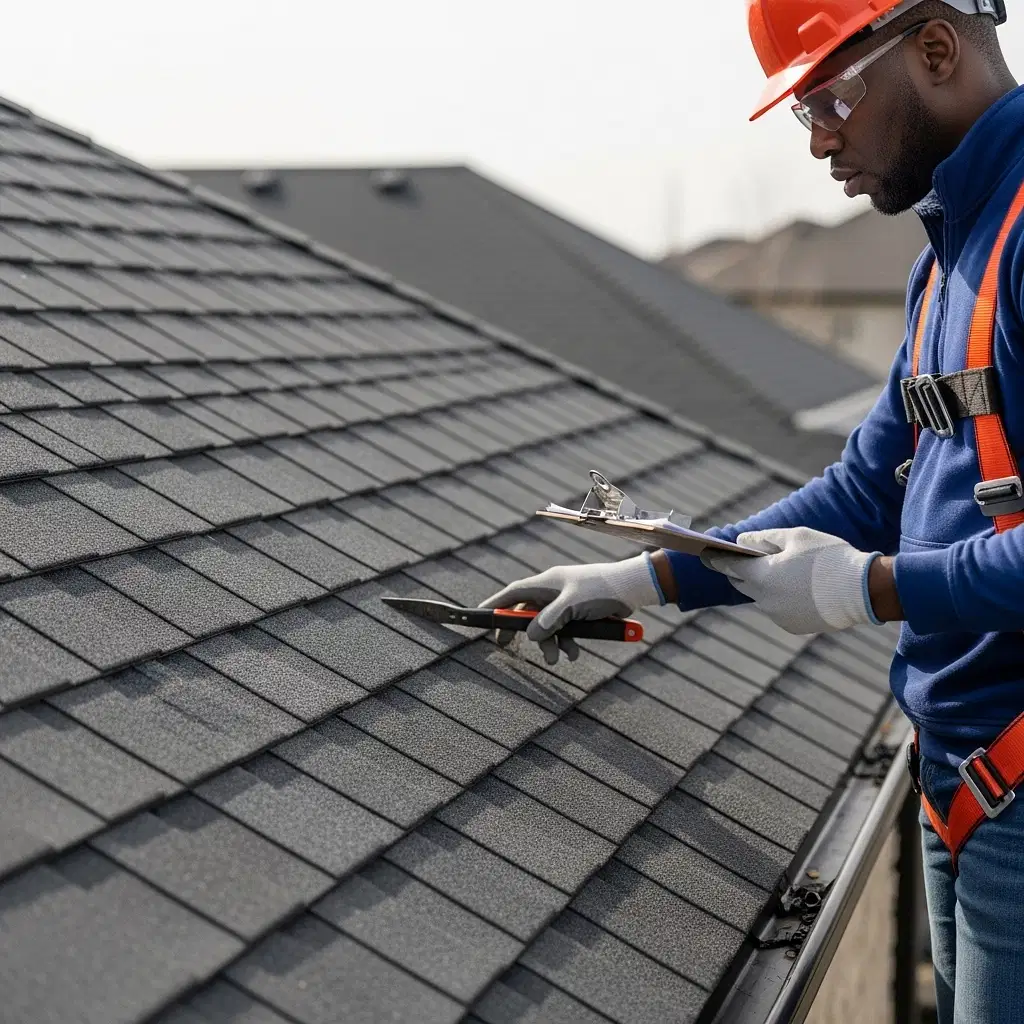
- Take Detailed Photos and Videos: Using your smartphone, capture wide shots of your entire roof from different angles on the ground. Then, if you can do so safely, take close-up pictures of any visible damage. This includes missing or lifted shingles, dents from hail, cracked tiles, and damage to gutters, vents, or flashing.
- Look for Interior Signs: Damage isn't always obvious from the outside. Check your attic and ceilings for water stains, drips, or areas where daylight is visible. Document these spots as well.
- Mitigate Further Damage: Your insurance policy requires you to take reasonable steps to prevent further harm to your property. This might mean placing a tarp over a heavily damaged area. This is a temporary fix, and many professional roofers offer emergency services to help secure your home quickly and safely. Keep receipts for any materials you purchase for temporary repairs, as these may be reimbursable.
Step 2: Understand Your Policy and Contact Your Insurer
Before you call your insurance company, it’s helpful to have your policy documents handy. Understanding a few key terms will make the conversation much easier:
- Deductible: This is the amount you are responsible for paying out-of-pocket before your insurance coverage begins. For hurricane damage, you may have a separate, higher deductible.
- ACV vs. RCV: Actual Cash Value (ACV) is the value of your roof minus depreciation for its age and wear. Replacement Cost Value (RCV) is the cost to replace your roof with new, similar materials without deducting for depreciation. Many policies pay the ACV first, then release the remaining amount (depreciation) after the repairs are completed and you provide a final invoice.
When you file your claim, be prepared to provide your policy number and a clear description of the damage. You will be assigned a claim number and an adjuster. Keep a detailed log of every conversation, including the date, time, and the name of the person you spoke with.
Step 3: Partner with a Trusted Local Roofing Contractor
This is one of the most critical steps. After a major storm, out-of-state “storm chasers” often flood the area, making big promises but delivering subpar work. Partnering with an established, local roofing company protects your investment and simplifies the claims process. A reputable contractor acts as your advocate.
Here’s how a professional can help:
- Provide a Comprehensive Inspection: We use advanced tools, including drones, to conduct a thorough roof inspection. We identify all storm-related damage—even subtle issues an insurance adjuster might overlook—and create a detailed report.
- Create a Detailed Estimate: We provide a precise, line-item estimate using industry-standard software that insurance companies recognize and respect. This ensures the scope of work accurately reflects what’s needed to properly repair or replace your roof according to Florida's strict building codes.
- Meet with the Adjuster: We can be on-site when the insurance adjuster visits your property. We can walk the roof with them, point out our findings, and ensure all damage is accounted for in their report. This professional collaboration often leads to a more accurate and fair assessment from the start.
- Help You Understand the Paperwork: Insurance paperwork can be confusing. We'll help you decipher the adjuster's report and the scope of work, ensuring the settlement is sufficient to cover a quality storm damage repair or replacement.

Step 4: Completing the Repair and Finalizing the Claim
Once your claim is approved, the restoration work can begin. Your contractor will schedule the project, order materials, and secure the necessary permits. Throughout the process, communication is key. A good contractor will keep you informed about the timeline and any unexpected developments.
After the roof repair or replacement is complete, your contractor will provide you with a final invoice and a certificate of completion. You will submit this to your insurance company to have the final portion of your claim (the recoverable depreciation, if applicable) released. A quality roofer will also provide a strong warranty on their workmanship, giving you peace of mind for years to come.
Your Partner in Storm Recovery
Dealing with roof damage after a storm is stressful, but you don't have to go through it alone. By taking these steps and working with a reliable expert, you can protect your home and make the insurance process manageable.
If your home in the Pensacola area has sustained damage from wind or a recent storm, contact Omni Roof Systems today. We offer free, no-obligation inspections and have extensive experience helping homeowners with insurance claims. Let our team provide the expertise and support you need to restore your peace of mind. Contact us to get started.